The setup tasks you need to complete depend on the features you want to use and whether your business was operating prior to your conversion month.
What features do you want to use'
The following table provides some examples of different setup requirements.
| Your needs | Setup required |
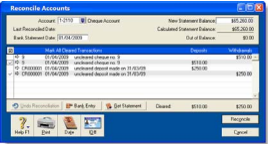
| Basic | If you only want to use your software to fulfil basic accounting requirements (such as report tax payable or produce a year-end balance sheet), you may only need to do an initial bank reconciliation for each of your bank accounts. Reconciling accounts helps ensure the integrity of the information you record in your company file (see 'Do an initial bank reconciliation'). |
| Intermediate | If you want to track the money that you owe suppliers or that are owed by customers, you will need to use the Purchases and Sales command centres. Before you can use these command centres, you need to complete the sales and purchases setup tasks in this chapter. |
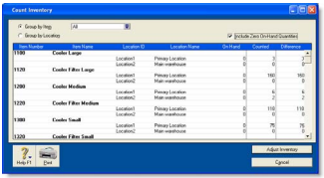
| Advanced | If you want to track the on-hand quantity and value of items you buy and sell, you need to create records to store the details of your items. You do this using the Inventory command centre. Also, when you buy and sell an item, you will need to record details about each transaction (such as who you purchased the items from, how many you purchased and the price). You do this using the Sales and Purchases command centres. Hence, you need to complete the sales and purchases setup tasks in this chapter. |
When did your business start operating
The setup tasks you need to complete will also depend on whether your business was operating prior to your conversion month.
The following table describes the setup required for new and existing businesses.
| Business status | Setup required |
| New | If you have just started your business, you may have very little information about your future customers, suppliers, employees and items that you buy or sell. You can add these details later when you have more information. However, if you intend using the advanced features of your software (such as recording invoices or tracking departmental profit), you should read through the setup tasks to see which features you might use and the tasks you need to complete to start using them. |
| Existing | If your business was operating prior to your conversion month, it is likely that transactions that occurred prior to your conversion month still affect your business. For example, a customer may owe you money for sales you made prior to your conversion month, or you may have outstanding bills to pay. You will need to enter these historical details in your company file. |
Advanced tasks
You may not need to do every task. An introduction to each task helps you determine whether you need to do the task and, if so, the information you need.
| Task | |
| 1 | Set up sales |
| 2 | Set up purchases |
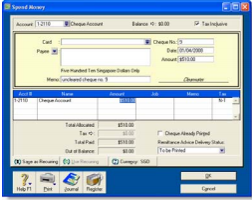
| 3 | Do an initial bank reconciliation |
| 4 | Create item records |
| 5 | Enter your inventory opening balances |